How to Install Vinyl Plank Flooring
Vinyl plank flooring has become a favorite in homes, offices, and also retail spaces. With its sleek wood-like look, waterproof features, and easy installation, it’s no wonder that so many people are choosing this budget-friendly option. Even if you’re upgrading your kitchen, basement, or living room, knowing how to install vinyl plank flooring can save you money while giving your space a polished, modern feel.
But do not let its simplicity fool you. Installing vinyl plank requires a sharp eye and a bit of patience. With all preparation, careful cuts, and smooth execution, you can achieve professional-level results all on your own.
Planning Before You Start
Every successful project begins with planning, and laying vinyl plank is no exception. Making the subfloor right and understanding your space helps avoid problems later.
Evaluating the Subfloor
First, clear the area completely and check what lies under. You need a flat, dry surface before installing any type of flooring. Remove old carpet, nails, and leftover adhesives. If your subfloor is concrete so test it for moisture using a plastic sheet taped down overnight. For wood subfloors, make sure everything is nailed tightly and doesn’t squeak.
Vinyl planks are flexible but unforgiving on uneven floors. Dips, bumps, or cracks will show once the floor is in place. If needed, use a self-leveling compound to fix trouble spots and sand down any high ridges.
Letting the Planks Acclimate
Vinyl flooring needs time to adjust to the room. Leave the boxes unopened in the space where they’ll be installed for at least 48 hours. This allows the material to adapt to temperature and humidity. Skip this step, and you risk shrinking, expanding, or warped planks later.
Designing the Layout
Before you start locking anything into place, take measurements. Think about how the planks will line up with the walls and where seams will land. Most people install planks parallel to the longest wall or the way natural light enters. If the final row looks too narrow, adjust your first row to balance it out.
A chalk line snapped across the room gives you a straight guide to follow. A little extra planning now will make the entire project easier and more accurate.
Installing the Floor Step by Step
This is the exciting part—transforming your space with each plank you snap into place. But take it slow. Precision here makes all the difference.
The First Row Matters Most
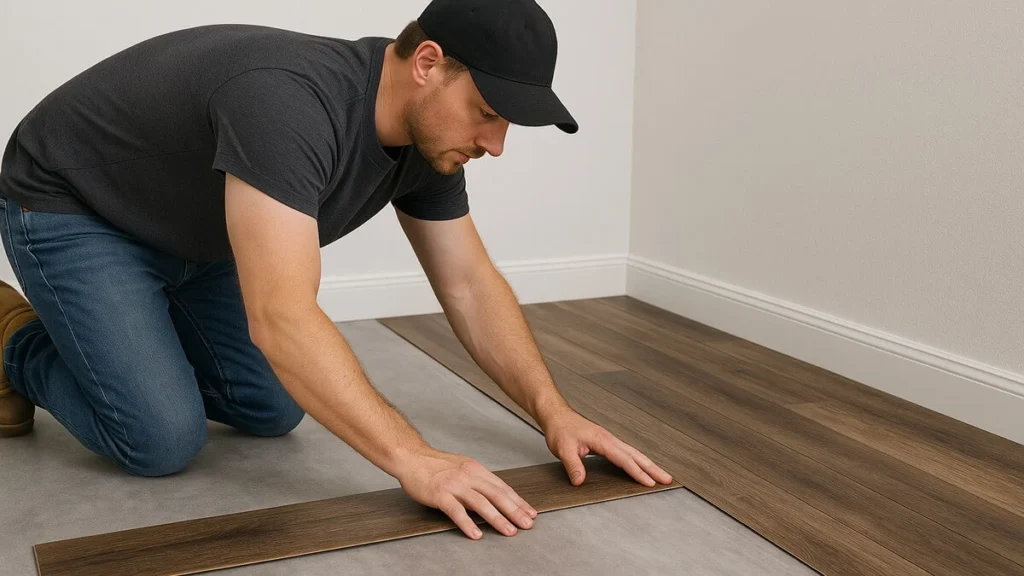
Start in a corner of the room, placing your first plank with its groove side facing the wall. Use spacers to leave an expansion gap—about ¼ inch—between the wall and the planks. This gives the floor room to expand without buckling.
The first row must be completely straight. Any mistake here will throw off every row after it. Make sure each plank locks tightly with its neighbor. Tap gently with a rubber mallet and a tapping block for a snug fit, but don’t force it.
Staggering Seams for Strength
You should never line up plank seams in straight lines. Instead, stagger them by starting each row with a different-length plank. This not only looks better but also strengthens the entire floor system. Most manufacturers recommend keeping end joints at least 6 inches apart from row to row.
Use offcuts from the previous row to begin the next. This reduces waste and keeps your layout natural and consistent.
Handling Obstacles and Corners
Doorways, vents, and tight corners can slow you down but with careful cutting you can fit planks around almost anything. A jigsaw or oscillating tool helps you shape around doorframes and pipes. Don’t rush these cuts—take your time to measure, mark, and double-check.
If needed, undercut door frames and slide the planks underneath for a unseamed look. For larger gaps, plan to cover them with baseboards or transition strips later.
Finishing Touches that Complete the Look
You’ve laid the planks, but the project isn’t quite done. The final steps give your floor its clean, finished appearance—and help protect your work for years to come.
Locking in the Last Row
The last row is usually the narrowest and trickiest to install. Measure the gap, cut the planks lengthwise, and click them into place with a pull bar. Be sure to maintain that expansion gap here too.
Cutting these final pieces takes care and patience. It is worth taking your time to avoid damaging the edges or leaving rough spaces.
Reinstalling Baseboards and Trim
When the planks are fully installed, remove the spacers and reinstall your baseboards or trim. This covers the expansion gap and frames the room nicely. If you removed any door casings, put them back in place after cutting them to fit over the new flooring.
Also, install threshold strips where the vinyl meets other types of flooring, like tile or carpet. This makes the transition smooth and visually appealing.
Cleaning and Maintenance Tips
Clean or vacuum the floor completely after installation. Use a damp—not wet—mop for the first clean. Avoid harsh chemicals and always follow manufacturer cleaning instructions. Vinyl is durable, but securing it from scratches and dents will extend its life.
Add felt pads to furniture legs and arranging mats at entrances to reduce dirt and debris. With regular care, your vinyl plank floor will keep its luster for years.
Read more about: How to Mud Drywall?
A DIY Project Worth Taking On
Mastering how to install vinyl plank flooring is more than just a skill it’s a chance to transform your home with your own hands. The process is simple enough for beginners, yet rewarding enough for seasoned DIYers. You get a high-end wood look, moisture resistance, and a surface that holds up under daily life.
And because installation doesn’t require expensive tools or special training, it’s one of the most budget-conscious flooring options available today. Even if you’re revamping a room or remodeling an entire home, knowing how to install vinyl plank flooring helps you get the most value from your investment.
In the end, it is not just about saving money or improving aesthetics—it’s about pride in the finished product. From the first plank to the final trim, understanding how to install vinyl plank flooring gives you the power to take your space to the next level.
