How to Mud Drywall
Learning how to mud drywall is essential for anyone diving into home repairs or building projects. It’s the procedure that makes walls look clean, smooth, and paint-ready. While hanging drywall is one step, applying joint compound (or “mud”) takes it to the next level. Without mudding, drywall joints and screw holes remain visible. With it, your walls look flawless and professional. Even if you’re a starter or tackling your first big project, understanding the right technique makes all the difference.
The Work Before the Mud
Before applying any joint compound, the surface and surroundings must be prepared properly. This helps the mud bond well and makes sure a cleaner job.
Remove Dust and Scrape Imperfections
The first step is clearing off any drywall dust or paper scraps. Use a dry cloth or broom to brush off each seam and corner. If there are sharp bits, glue, or leftover pencil markings, use a utility knife or scraper to smooth them down. This cleaning step may feel small, but it’s essential to helping the mud stick evenly.
Apply Tape Over Seams
Drywall tape acts like a bridge between panels. Without it, mud will crack along the seams over time. There are two kinds: paper tape and mesh tape. Paper tape is stronger but needs more skill to apply. Mesh is easier for beginners. Line up the tape right down the center of each joint and press it flat. Inside corners also need tape—fold the tape along the crease and press it in evenly.
Pick the Right Joint Compound
For first-timers, premixed joint compound is best. It’s ready to use straight out of the bucket and gives you time to work before drying. Professionals often use setting-type compound (hot mud), which dries faster but needs to be mixed. If you’re just learning how to mud drywall, stick with premixed for more control.
Applying the First Coat
The first layer of mud is all about coverage. This coat hides the tape, fills screw holes, and starts blending everything together.
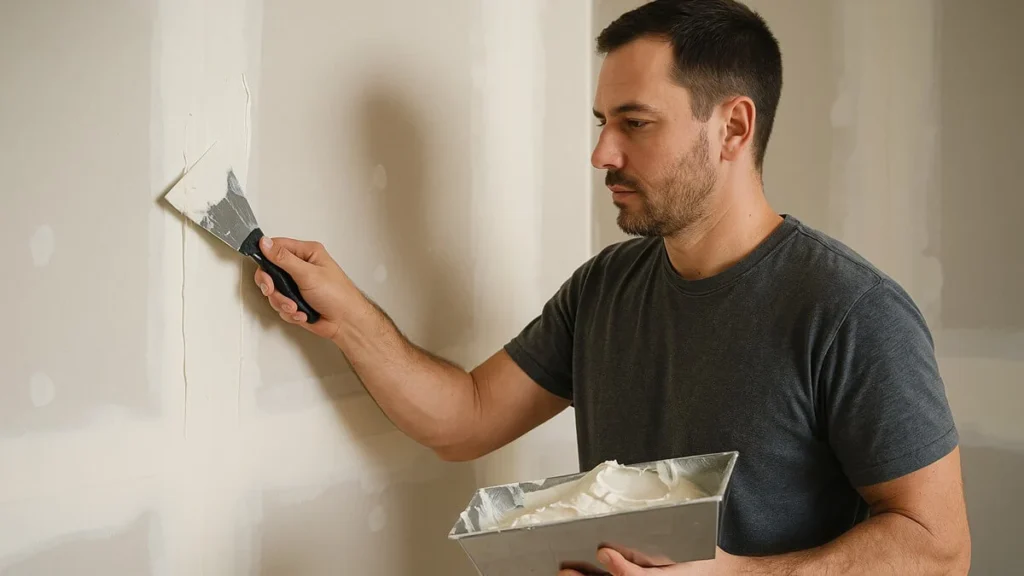
Cover Seams with Consistent Pressure
Use a 6-inch taping knife for the first coat. Scoop a small amount of mud and spread it evenly over the taped joints. Hold the knife at a slight angle and press the mud into the seam. Your goal is to bury the tape without adding too much thickness. Remove extra compound as you go to keep the surface flat.
Fill Screws and Nails
Tiny holes left by screws or nails also need to be covered. Apply a little mud over each one and scrape it flat. Don’t worry about perfect smoothness yet—just focus on filling everything. Once dry, you’ll be able to sand and touch up later.
Don’t Forget the Corners
Inside corners take patience. Use a corner knife or a regular 4-inch taping knife. Apply mud to both sides of the corner and smooth it out with even strokes. These areas will need more sanding later, but they form the foundation of the wall’s shape and should be treated carefully.
The Second Coat
Once the first coat dries completely (usually 12–24 hours), the next coat is used to smooth rough areas and feather the edges farther out.
Use a Wider Knife for Better Spread
Move up to a 10-inch or 12-inch drywall knife for the second coat. Spread the mud wider than the first layer so you’re gradually blending the seam with the rest of the wall. Keep your strokes smooth and avoid deep ridges. You’re not just hiding seams—you’re sculpting a wall.
Smooth Corners and Build Layers
For corners, apply more mud on each side and feather it outward. If the first coat was bumpy or thin, this second layer should fix it. Don’t rush, and don’t overload your knife—thin layers dry better and sand easier.
Check for Flaws Using a Work Light
Shine a flashlight or work light across the wall at an angle. This will show dips, lines, or raised areas that might not be visible straight on. Use this check as a guide while working. The more even your mud, the less sanding you’ll need.
Final Coat and Sanding
The third coat is your finishing layer. This one is all about blending and polishing the wall to look like one smooth surface.
Go Thinner and Wider
The final coat should be the thinnest. Use the widest knife you can manage to extend the feathered edges even farther. This makes seams completely disappear once painted. You shouldn’t see any tape lines, screw spots, or blade marks after this coat is done.
Let It Dry Without Touching
Give this coat a full day to dry. Even if it looks dry on the surface, touching or sanding too early can ruin the finish. Once fully dry, run your hand gently across the surface. You should feel a smooth, even plane. If not, touch up lightly with more compound.
Sand with Care and Precision
Use fine-grit sandpaper or a sanding sponge to smooth everything. Always sand in a circular motion and use soft pressure. The idea is to blend—not remove. Over-sanding can damage the paper and undo all your hard work. If dust is a concern, use a damp sponge instead of dry sanding to reduce particles in the air.
Mudding Ceilings, Corners, and Special Spots
Walls aren’t the only places that need mud. Ceilings and inside corners require their own attention. Knowing how to mud drywall also means knowing how to adapt for tricky spaces.
Overhead Work on Ceilings
Mudding ceilings uses the same technique as walls but requires more stamina and control. Use smaller batches of compound to avoid dripping and take breaks as needed. Ceiling seams should be feathered wider since overhead lighting will reveal every flaw.
Inside and Outside Corners
Corners should be done slowly and with precision. Inside corners use folded tape and a corner knife. Outside corners often use metal or plastic corner beads, which need to be covered with multiple layers of mud to become invisible. Both types of corners usually take more sanding than flat seams.
Matching Wall Textures
Once the mud is dry and sanded, you may need to match the texture of the surrounding wall. Spray texture or sponge techniques can copy knockdown, orange peel, or other styles. Always test the texture first on scrap drywall or a hidden section before applying it everywhere.
Read more: How Thick Is Drywall?
Why This Skill Pays Off
Learning how to mud drywall gives you the freedom to repair, remodel, or build without hiring out for every job. It’s not just about covering joints—it’s about creating a perfect surface that’s strong, smooth, and ready for anything. However you’re flipping a room or fixing one bad spot, you now have the steps and confidence to make your walls look professional. With each project, your mudding skills will improve, saving you time, money, and frustration down the line.
