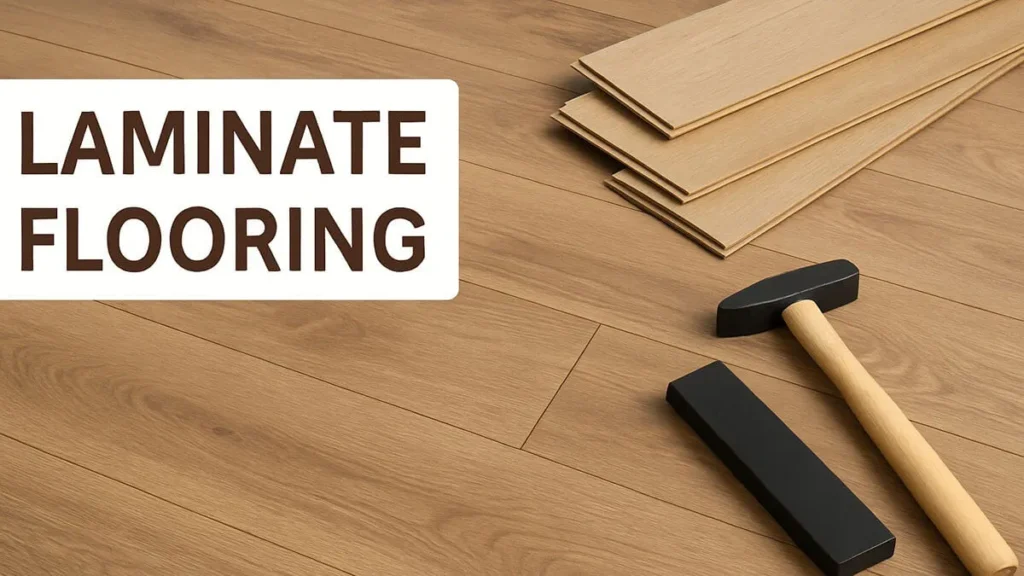
How to Install Laminate Flooring
Laminate flooring is a popular choice for homes because it is durable, easy to clean, and comes in many styles. Homeowners often prefer it because it looks like wood or tile but costs less and installs more quickly. If you’re thinking about redoing your floors, learning how to install laminate flooring can help you finish the job without hiring a professional. With the right tools, time, and planning, this is a project most people can handle on their own.
Getting Ready for Installation
Before you start installing anything, the room needs to be clean and clear. Remove all furniture, rugs, and baseboards. If you’re replacing old flooring, it must come out unless the laminate is made for going over it. Most floors work best on a flat, hard surface like plywood or concrete.
Moisture is another factor to consider. If you’re working in a room where water is common—such as a bathroom or basement—make sure there’s a moisture barrier. This plastic sheet goes between the floor and the laminate, protecting the boards from warping. Some laminate planks come with underlayment attached, while others need it added separately.
Once the space is clean and dry, let the laminate flooring sit in the room for a day or two. This gives it time to adjust to the room’s temperature and humidity, which helps prevent gaps or buckling after installation.
Planning Your Layout
Planning where and how the boards will be placed saves time later. Start by measuring the room’s length and width. Divide the total width by the width of one plank to see how many full boards will fit across. This tells you if the last row will need trimming.
You want the first and last rows to be roughly the same width so the floor looks balanced. If the last row will be very narrow, cut the first row a little thinner so the final row comes out wider. Always plan the layout to avoid very small slivers of flooring along walls.
Also, plan your installation so that the boards run in the same direction as the longest wall or the incoming light. This makes the room look more natural and less chopped up.
Starting the First Row
When you’re ready to begin, choose a wall to start against. Most people begin along the longest straight wall. Place spacers between the boards and the wall to leave a small gap. This gap is important because laminate flooring expands and contracts with temperature and humidity. Without room to move, the floor could buckle.
Lay the first board with the groove side facing the wall. Add the next board by snapping the tongue into the groove at an angle, then pressing it flat to lock it in place. Continue this process until the row is finished. If the last board doesn’t fit exactly, measure the gap, cut the plank, and place it in.
Building the Next Rows
The next row should start with a different length board to avoid lining up joints. This not only looks better but also makes the floor stronger. Most people stagger joints by at least 12 inches.
Insert the tongue of each plank into the groove of the one in the row before it. Angle it slightly and then press down to snap it into place. Some boards may need a light tap to lock tightly. Use a tapping block and hammer—not the hammer alone—to protect the edges of the board.
Keep repeating this process row by row. Take your time to make sure each joint is tight and smooth. If a gap appears, check that the board is fully clicked into place and not blocked by dust or a crooked angle.
Cutting Around Obstacles
Many rooms aren’t just square. You’ll probably need to cut boards to fit around door frames, vents, or cabinets. For tricky cuts, trace the shape onto a plank and use a jigsaw or handsaw to cut it out. Always measure twice to avoid wasting pieces.
For doorways, it helps to undercut the trim so the laminate can slide underneath it. This gives a cleaner look and avoids the need for complicated cuts. Use a small hand saw or oscillating tool to trim the bottom of the frame just enough to fit the flooring under it.
Finishing the Last Row
The final row is often the most difficult, especially if it needs to be trimmed lengthwise. Measure the width of the gap between the last full row and the wall, subtract the expansion space, and cut your planks to size. Carefully snap them into place just like the earlier rows.
If there’s not enough space to angle the plank in and push down, try using a pull bar tool. This allows you to hook the end of the board and pull it tightly into position without needing a lot of room.
Installing Baseboards and Transition Pieces
Once the flooring is fully in place, remove the spacers along the walls. The small gaps left by the spacers will now be hidden by the baseboards or quarter round molding. Nail or glue the trim to the wall, not the floor, so the laminate still has room to move.
If your laminate flooring joins another type of floor in a hallway or doorway, use a transition strip. These pieces bridge the gap and create a smooth, finished edge. Different types of strips work for carpet, tile, or other laminate surfaces.
Cleaning Up After the Job
After installation, clean the floor with a vacuum or soft broom to remove any dust or debris. Never soak laminate with water; instead, use a damp mop if needed. Avoid using strong cleaners that could damage the surface or dull the finish.
Throw away or recycle leftover materials properly. Extra planks should be saved in case you need repairs later. They can be stored flat in a dry area. Having matching boards on hand helps if damage ever occurs, especially if the style becomes unavailable.
You may also want to know: What Is LVP Flooring?
Enjoying the Finished Floor
Once the trim is back in place and the surface is clean, the room is ready to use. Most laminate floors are ready for light foot traffic immediately. Just be careful with dragging heavy furniture over it. Use felt pads or furniture sliders to protect the new surface.
Learning how to install laminate flooring is a useful skill for any homeowner. It saves money, increases home value, and gives you control over the look of your space. With careful planning, basic tools, and some patience, you can achieve a professional result without hiring a crew.
